
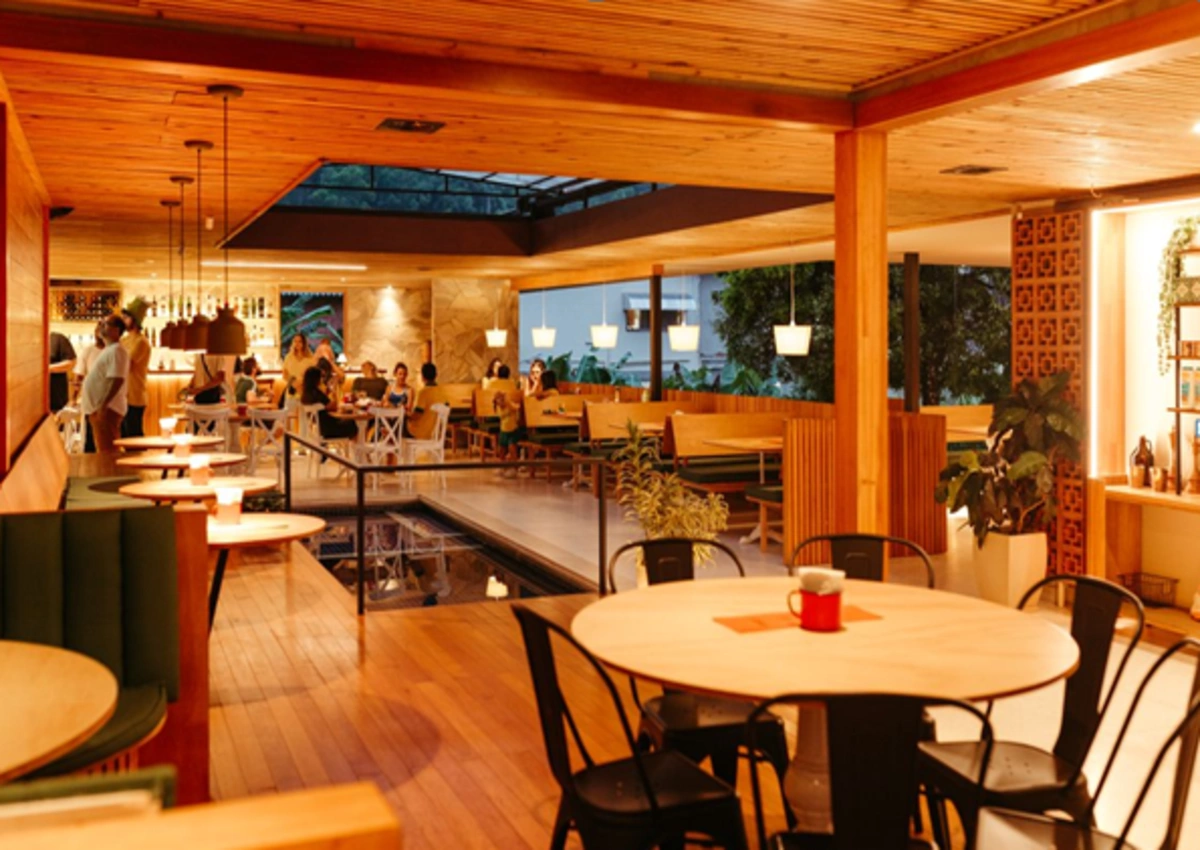

From concept to grand opening, opening a new restaurant is one of the most rewarding and demanding projects you can take on. To give yourself the best chance of success, you need a clear roadmap that takes you from idea to opening day in a structured, realistic way.
Step 1: Define Your Restaurant Concept Clearly
Every strong restaurant starts with a sharp concept, not just “good food.” Your concept shapes everything: menu, design, pricing, marketing, and even staffing.
Ask yourself:
- What cuisine or style will you offer (casual dining, fast-casual, fine dining, café, food truck, ghost kitchen)?
- Who is your ideal guest (office workers at lunch, families at dinner, late-night crowd, health-conscious diners)?
- What price point fits your audience and neighborhood (budget-friendly, mid-range, premium)?
- What is your unique angle (signature dish, local sourcing, immersive décor, themed experience)?
The more specific you are here, the easier every later decision becomes. A clear concept is also essential for branding, business planning, and convincing investors or lenders to back you.
Step 2: Build a Solid Restaurant Business Plan
A well-structured restaurant business plan turns your concept into a realistic, numbers-driven project. It also shows you whether your idea is financially viable.
Your restaurant business plan should cover:
Executive summary: A concise overview of your concept, target market, and financial goals.
Market analysis: Local demographics, competitors, demand, and pricing in your area.
Concept and menu: Cuisine type, sample menu items, average ticket size, and service style.
Operating model: Hours of operation, service flow, number of seats, and table turns per day.
Marketing and brand strategy: How you will attract and retain guests.
Financial projections: Startup costs, monthly expenses, sales forecasts, and break-even analysis.
Treat your plan as a living document. You’ll refine numbers as you get real quotes for equipment, rent, and staffing, but you need a strong first version to guide decisions and funding discussions.
Step 3: Estimate Startup Costs and Secure Funding
One of the biggest reasons new restaurants fail is underestimating how much money they need. You must plan not just for build-out and equipment, but also for several months of operating expenses.
Key cost categories include:
Lease and build-out: Security deposit, renovations, kitchen installation, interior design, signage.
Equipment and supplies: Cooking equipment, refrigeration, smallwares, POS systems, furniture, uniforms.
Licenses and permits: Business registration, food-service permits, alcohol license (if applicable), and inspections.
Initial inventory: Food, beverages, cleaning supplies, paper goods.
Pre-opening marketing: Website, logo, photography, social media campaigns, signage.
Working capital: Cash to cover payroll, rent, utilities, and unexpected costs for at least 3–6 months.
Once you have a realistic cost estimate, consider your funding options: personal savings, investors, bank loans, SBA loans, or partnerships. Lenders and investors will expect a strong business plan and clear financial projections.
Step 4: Choose the Right Location
Location can make or break a restaurant. The “perfect” space must match your concept, customer base, and financial model.
Evaluate potential locations by looking at:
Foot traffic and visibility: Are there enough potential guests walking or driving by each day? Can people easily see your signage?
Demographics and demand: Does the neighborhood match your target market in age, income, and lifestyle?
Competition: Are there similar restaurants nearby? That can be positive (a known dining area) or negative (oversaturation).
Access and parking: Is it easy for guests to arrive, park, and leave? How is public transit access?
Lease terms: Rent level, length of lease, renewal options, and landlord flexibility.
Visit at different times—lunch, dinner, weekdays, weekends—to see how the area behaves across the week. Run your rent and operating costs through your financial model to confirm the numbers work.
Step 5: Handle Legal Structure, Licenses, and Permits
Before you serve a single dish, you need to get your legal foundation right. Skipping or rushing this step can lead to expensive delays and legal trouble.
Common legal tasks include:
Choose a business structure: Sole proprietorship, partnership, LLC, or corporation, depending on your risk tolerance and tax needs.
Register your business: File the necessary paperwork with local and state authorities.
Obtain licenses and permits: Business license, food-service permit, health department approval, fire inspections, occupancy certificate, and liquor license if you serve alcohol.
Insurance: General liability, property, workers’ compensation, and liquor liability where needed.
Work with a knowledgeable attorney or consultant if you’re unsure of requirements in your region. It’s better to spend a bit more up front than face shutdowns or fines later.
Step 6: Design Your Space and Kitchen for Efficiency
Restaurant design is not just about looking good—it’s about supporting smooth operations and a great guest experience.
Key design considerations:
Guest flow: Host stand location, waiting area, bar placement, and traffic flow between tables.
Seating layout: Number of seats, table sizes, and comfort level based on your concept (fast turnover vs. long, relaxed meals).
Kitchen layout: Prep areas, cooking line, pass, dishwashing, dry and cold storage, and equipment placement for efficiency and safety.
Atmosphere: Lighting, music, color scheme, and décor that reflect your brand and appeal to your ideal guests.
Work with designers and kitchen consultants who understand restaurants. A well-designed space reduces labor, speeds up service, and makes training easier.
Step 7: Build a Strategic Menu (Not Just a Tasty One)
Your menu is your core product and should be driven by both creativity and strategy. New owners often make the mistake of offering too many dishes, which complicates inventory, training, and consistency.
When designing your menu:
Stay focused: Offer a tight selection of dishes that showcase your concept and can be executed well every day.
Balance food cost and pricing: Aim for a sustainable food cost percentage while still delivering value to guests.
Consider kitchen capacity: Ensure your menu can be produced efficiently with your equipment and staffing.
Design for upselling: Include appetizers, sides, desserts, and beverages that increase average check size.
Keep it flexible: Plan seasonal specials and room for adjustments based on guest feedback and performance data.
Remember that your menu also needs strong descriptions, clear categories, and visuals (online and in-house) to help guests decide quickly and confidently.
Step 8: Choose Suppliers and Set Up Systems
Reliable suppliers and strong systems are the backbone of a smooth pre-opening and ongoing operations.
You’ll need to:
Select vendors: Food distributors, local producers, beverage and alcohol suppliers, cleaning and linen services.
Negotiate terms: Pricing, delivery schedules, minimum orders, and payment terms.
Implement systems: Inventory management, recipe costing, waste tracking, and ordering routines.
Choose technology: POS system, reservation platform, scheduling software, and payroll tools that suit your size and budget.
Systems might feel less exciting than décor or menu creation, but they are crucial for controlling costs and maintaining consistency as you grow.
Step 9: Hire, Train, and Culture-Build Your Team
Your team will make or break the guest experience. Hiring “bodies” just to fill positions is a common mistake; you need people who fit your concept and values.
Key roles may include:
Front-of-house: General manager, hosts, servers, bartenders, baristas (for cafés), bussers.
Back-of-house: Head chef or kitchen manager, line cooks, prep cooks, dishwashers.
Support: Bookkeeper, marketing, or social media support (often part-time or outsourced early on).
Focus on:
- Hiring for attitude and trainable skills
- Creating clear job descriptions and expectations.
- Developing training manuals for service standards, recipes, safety, and sanitation.
- Conducting practice services or mock shifts before opening to build confidence.
Also, think about your culture from day one—how you communicate, recognize good work, and handle mistakes. A strong culture reduces turnover and keeps service quality steady.
Step 10: Create a Pre-Opening Marketing and PR Plan
If you wait until the week before opening to think about marketing, you’re too late. You should begin building buzz months before your grand opening.
Effective pre-opening marketing includes:
Brand identity: Name, logo, tagline, and visual style that match your concept.
Online presence: Website with your story, menu previews, opening timeline, and reservation or mailing list options.
Social media: Teasers of the space, behind-the-scenes content, team introductions, and sneak peeks of dishes.
Local PR: Reach out to local bloggers, food writers, and community groups with a simple media kit and invitation.
Partnerships: Collaborate with nearby businesses, influencers, or charities to tap into existing audiences.
Your goal is to have people excited and curious before you even open the doors, not to start from zero on opening day.
Step 11: Plan a Soft Opening and Grand Opening
Instead of jumping straight into a full launch, smart restaurateurs plan a phased opening to test systems, gather feedback, and refine operations.
A practical launch sequence looks like this:
Friends-and-family nights: Invite a limited group at a discounted rate to test the menu and service in a low-pressure environment.
Limited soft opening: Open to the public with reduced hours, a smaller menu, or reservations only to avoid overwhelming the team.
Adjustments: Use guest feedback and internal notes to refine recipes, plating, timing, and staff assignments.
Grand opening event: After ironing out major issues, plan a bigger launch with promotions, media invites, and social content.
This approach reduces the risk of negative first impressions and gives your team time to build confidence and rhythm.
- Related Post: Choosing the Best Large Group Dining in Las Vegas
Step 12: Treat Opening Day as the Beginning, Not the Finish Line
Grand opening is a huge milestone, but it’s only the start of your restaurant’s journey. The first 90 days are critical for building reputation, gathering feedback, and tightening your operations.
Post-opening priorities should include:
Monitoring guest feedback: Read reviews, talk to guests, and watch for patterns in praise or complaints.
Tracking key numbers: Sales, labor percentage, food cost, average check size, and table turns.
Continuous training: Keep coaching your team, especially as you see where service breaks down.
Menu refinement: Remove underperforming dishes, improve winners, and add specials based on demand.
Ongoing marketing: Keep posting on social media, update your website, and run targeted local campaigns.
By treating your restaurant like a living system that needs regular attention and improvement, you give yourself the best chance to move from surviving to thriving.
Opening a restaurant from concept to grand opening is complex, but it becomes manageable when you follow a clear, step-by-step roadmap. Define your concept sharply, build a realistic plan, secure enough funding, and invest heavily in team, systems, and marketing. Do that, and your grand opening will be more than just a ribbon-cutting—it will be the launch of a restaurant built on strong foundations.